SZ3060 alignment and mounting (and other notes)
The Olympus SZ3060
The SZ3060 is a low-spec model in the Olympus catalog of stereo microscopes, meant to be integrated into wire bonders and wafer probers. Purchased used, it can be
very affordable.
Nonetheless, it still has excellent optics and good mechanical design. Optically, it might be better than some new microscopes that can cost much more.
As shown, the reversing assembly consists of three prisms and two mirrors. In principle, the two additional mirrors cause a minor loss in contrast compared to
full prism designs like the Nikon SMZ-2B. In practice, it's hardly noticeable.
For a Greenough design, the SZ3060 has good sharpness across the field, due to the low
convergence angle of the optical paths (10 degrees) and the close spacing of the lenses. Spherical aberration is not noticeable throughout the zoom range, but there is a
hint of chromatic aberration especially at higher magnification. Adding less-than-perfect auxiliary lenses increases the chromatic aberration further. There is significant pincushion distortion when photographing through the eyepieces; the effect is less pronounced when viewed by a human eye.
Ergonomics
The most apparent downside of the SZ3060 is the 60 degree tilt of the eyetubes, which is not very ergonomic for standalone use.
A 45 degree or lower angle makes it much more ergonomic to use the microscope when used on a desktop.
Left: SZ4045 (45 degree), right: SZ3060 (60 degree)
The ergonomics can be improved by sacrificing some usable depth of field and tilting the microscope body downwards 10-15 degrees -
attention should be paid to the stand selection, as some types do not allow this articulation. At the
low magnifications that we usually use for soldering, the field is often deep enough that the tilt does not cause appreciable degradation of focus. When set up with the 2X lens for close inspection,
I usually have to untilt the microscope.
For mounting in probers or wire bonders (what the SZ3060 was designed for), a 60 degree eyepiece angle makes sense since the microscope is usually installed with a significant forward tilt.

Nikon SMZ-460 (modern reproduction of SMZ-1) mounted in wire bonder.
Image source: https://www.tpt-wirebonder.com
Optical alignment
Stereo microscopes require very fine alignment between the two optical paths to present good images that do not cause fatigue for the user. This is complicated by zoom mechanisms,
in that alignment needs to be maintained at all zoom levels.
By my estimation, there are four main types of misalignments in a zoom stereo microscope:
- Misalignment between left and right images
- Decentration of image when zooming
- Loss of focus when zooming
- Decentration of image when adjusting interpupillary distance
Notes on aligning the SZ3060
The SZ3060 service manual doesn't mention it,
but a quick fix for misalignment #1 can be done without touching the zoom lenses. I might suggest correcting it this way only if misalignments #2, #3, and #4 are not present or very minor.
If there is major decentration or loss of focus through the zoom range, then the full disassembly and proper alignment should be done.
The four screws attaching each eyetube assembly to the reversing assembly (called out as AB 3x8SA 8 pcs. in step 2)
can be loosened and the eyetubes can be translated as necessary to correct for slight discrepancies between the left and right images.
This is best done using an eyepiece with crosshair reticle and a microscope calibration slide as a target.
In my copy, there was also a loss of focus in the right channel while zooming, which could not be compensated due to the lack of a diopter adjustment in that eye. Again, this is generally corrected
during a full alignment by adjusting the internal zoom lenses, but it was more convenient to drop the right side eyetube to the lowest position which made it possible
to achieve parfocality by using a diopter-adjustable eyepiece.
Custom VESA mount
I designed a quick adapter for the focussing mount that can bolt to any VESA monitor arm. The focussing mount attaches to a generic 24mm microscope mounting rod.
The additional area behind the focussing mount is meant as a place to install an LED driver and gooseneck lights.
I'm using one of these simple hinged monitor arms. It has essentially all of the articulation required and is quite rigid, which is of utmost importance for a microscope support.
The vertically-adjustable sort with a spring or gas piston is also an option. These types of arm would allow the same range of movement, plus the ability to much more easily adjust the microscope height.
The downside is usually a loss of rigidity compared to the more basic version. Ideally, it would be possible to lock the vertical adjustment in place once the height is chosen - this seems to be a rare, if not non-existent feature.
Still a bit of a work in progress, this arrangement proved solid. The higher the magnification, the more critical it is that the stand is very rigid as any slight movement knocks the image out of focus. It's practical to use this stand up to 80X magnification.
Test images
4.5X magnification. 0.5X lens * 0.9X objective
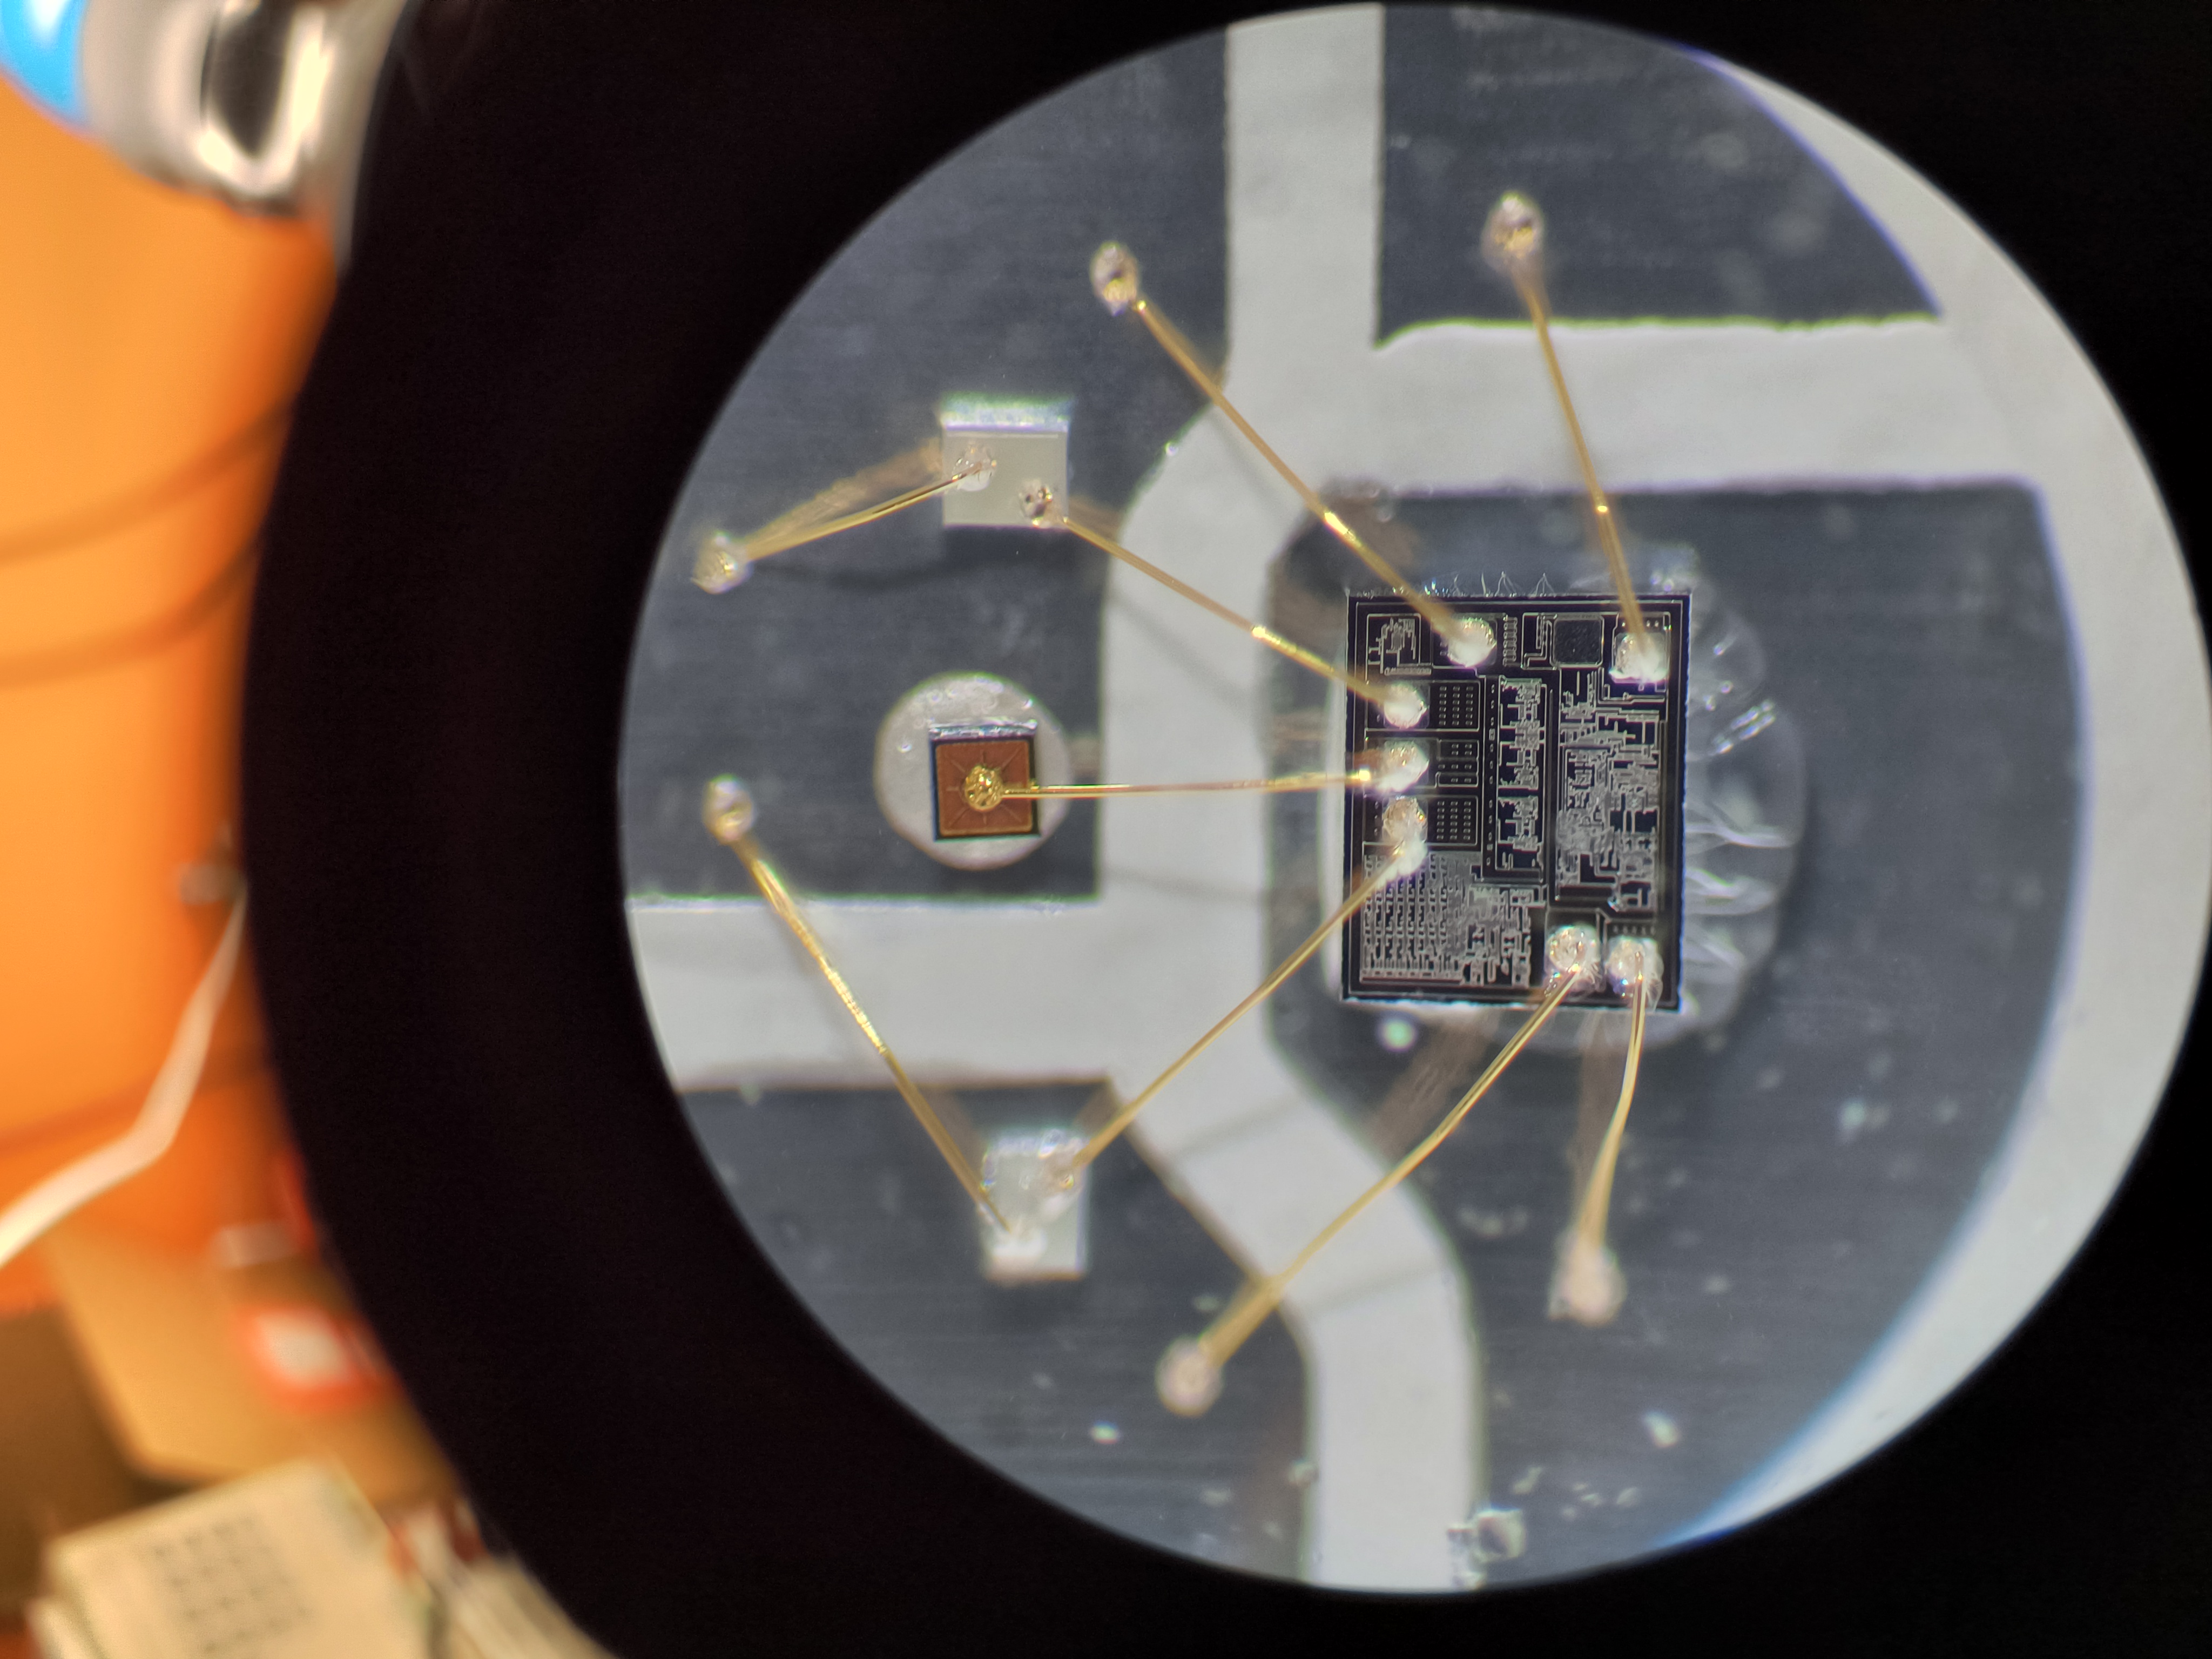
20X magnification. 0.5X lens * 4X objective

40X magnification. 1X (no lens) * 4X objective
80X magnification. 2x lens * 4X objective. Some chromatic aberration visible in the form of violet and green fringes
Setup cost
| Part | Cost (CAD) |
| SZ3060 microscope pod (used) | 50 | 10x/23 adjustable eyepieces | 50 |
| 0.5X and 2X auxiliary lens | 30 |
| Basic monitor arm + parts for mounting adapter | 60 |
| Focussing mount 76mm (used) | 80 |
| Total | 270 |
Musing about other magnifiers
Stereo microscopes are not the only practical way to magnify opaque objects, of course. In my opinion, however, a good stereo microscope is the most versatile option.
- Stereo zoom microscopes -stereoscopic
- Head mounted magnifiers/ Galilean loupes -stereoscopic
- Large single lens magnifiers -stereoscopic
- Digital microscopes -not stereoscopic
-can have long zoom ranges especially when paired with additional lenses - good for general work or close inspection
-well suited for documentation, especially if trinocular port is available
-take up a lot of bench space
-most Greenough designs with fixed eyetube angles at 45 or 60 degrees have just mediocre ergonomics
-good ergonomics
-takes up no bench space
-can be used away from the bench
-basically not usable for documentation purposes
-low magnifications only
-takes up even more space than the stereo microscope
-low magnifications only
-generally the least expensive
-can have extremely long zoom ranges
-compact compared to optical microscopes
-most practical for documentation
-most ergonomic
(Updated August 2025)
July 2025